
By Juan Cordon
FWD OVERHEAD New Version
Here is the realization
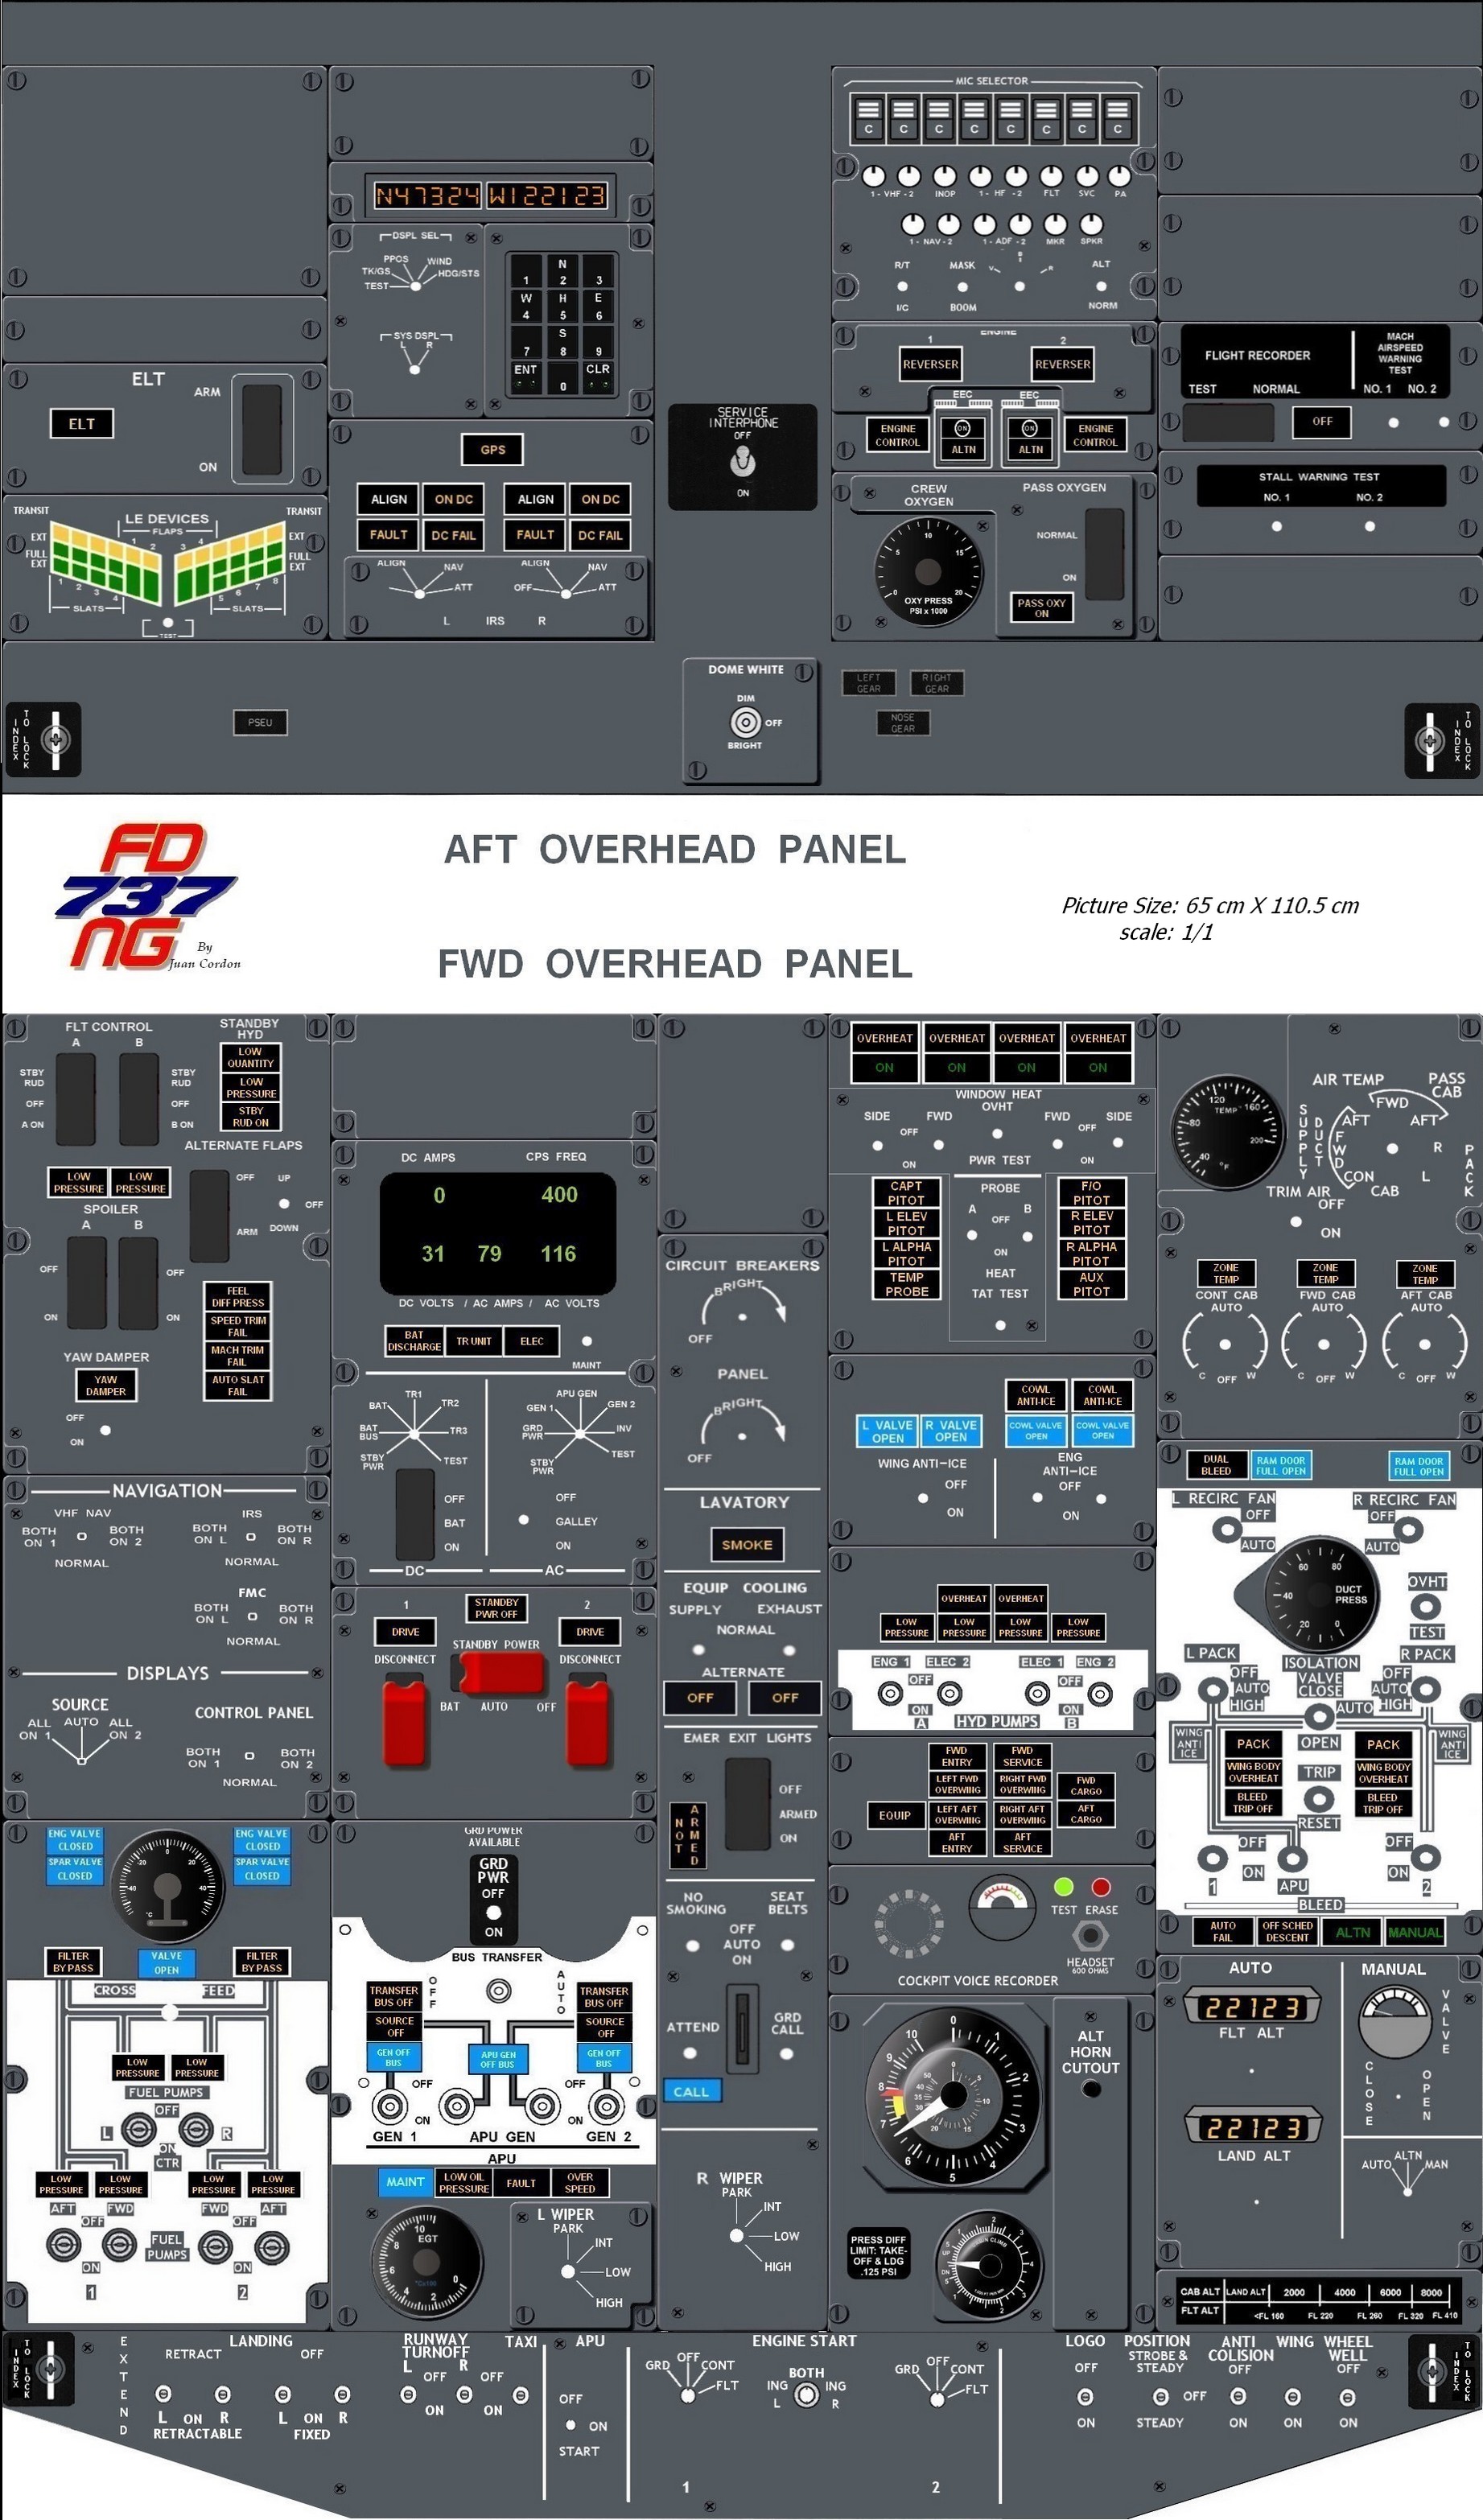
image scale 1/1
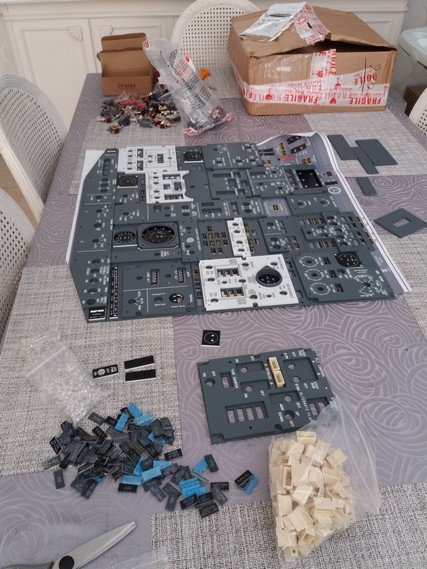
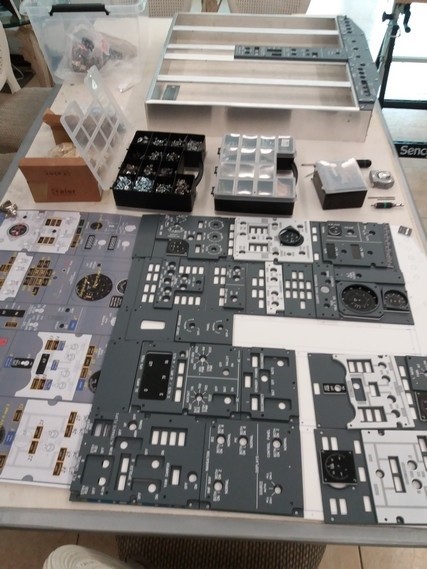
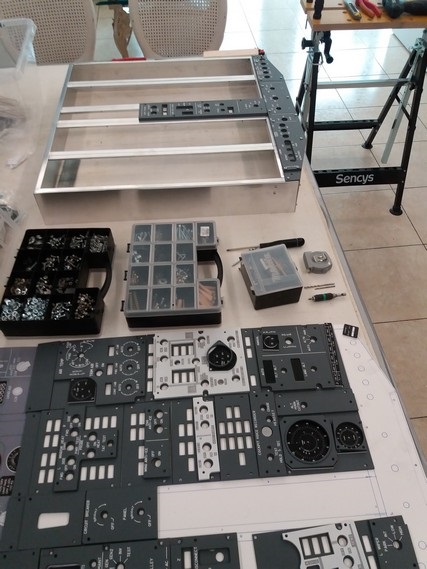
Arrival of my order from https://www.cockpitsimparts.co.uk/
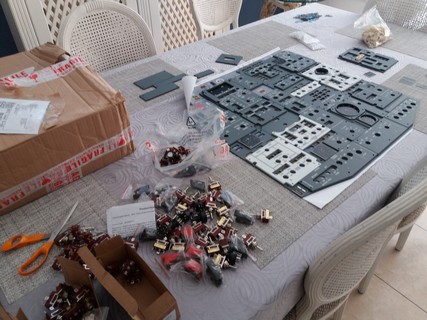
First impression: excellent work, the panels are well done
Check all the parts.
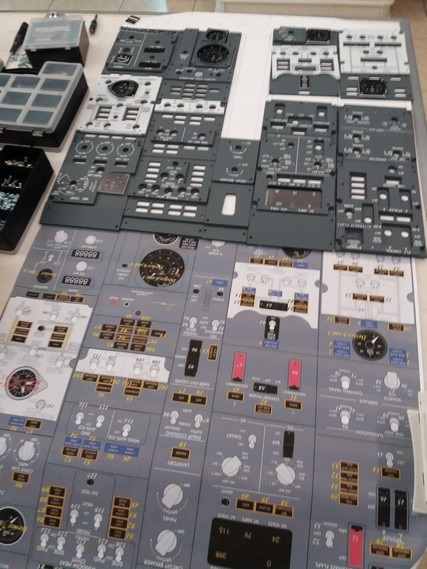
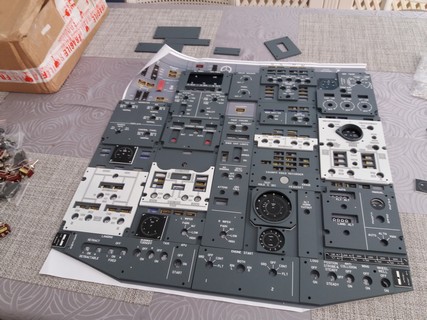
Positioning of panels on 1/1 scale image
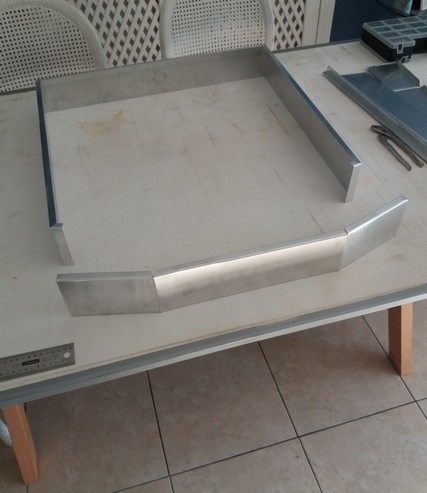
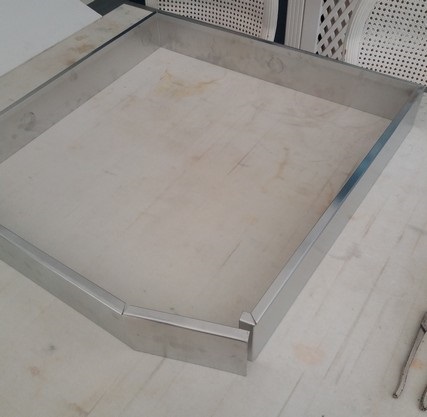
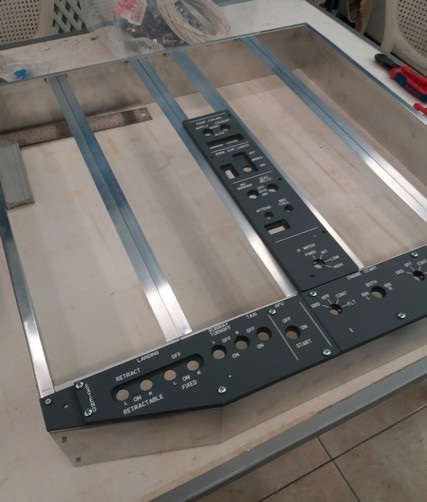
Assembly of the aluminum frame (of my own design)
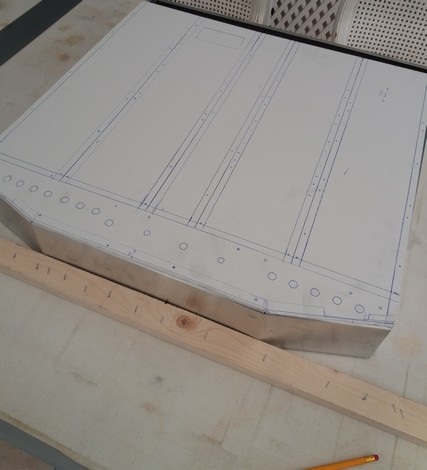
I made a template on which I put all the panels
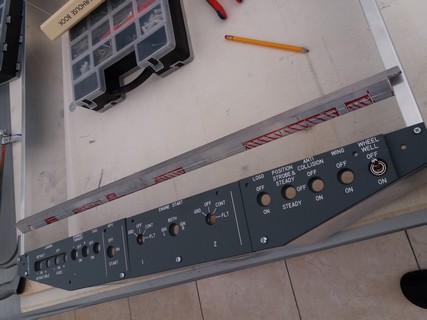
Installation of aluminum profiles
8 aluminum profiles assembled in L
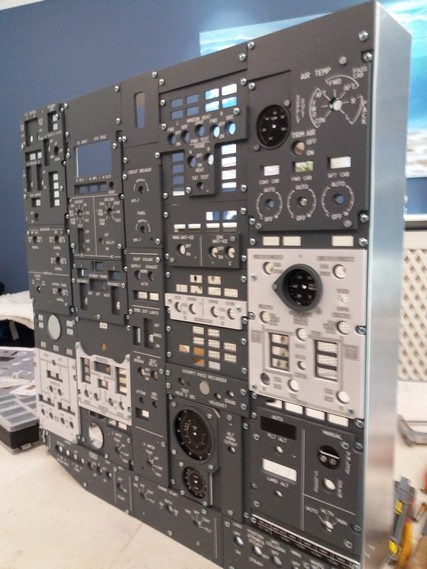
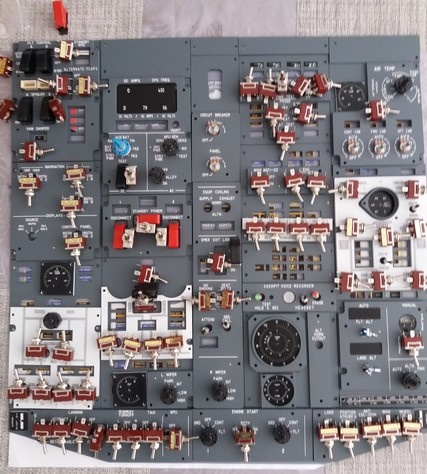
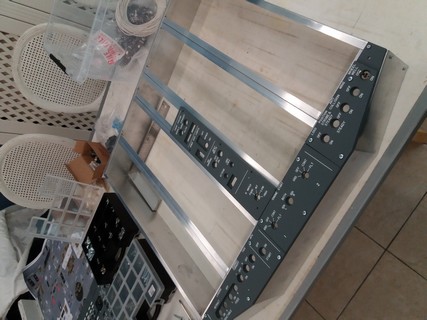
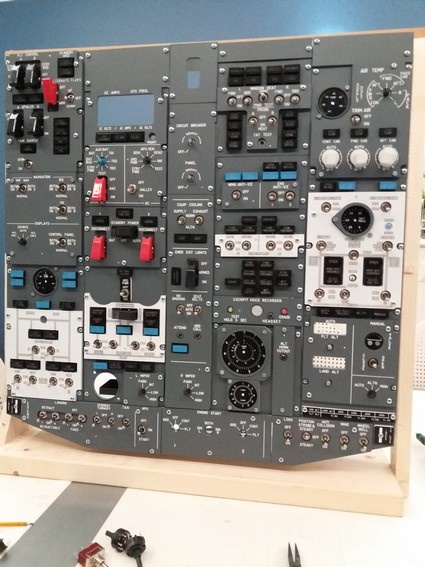
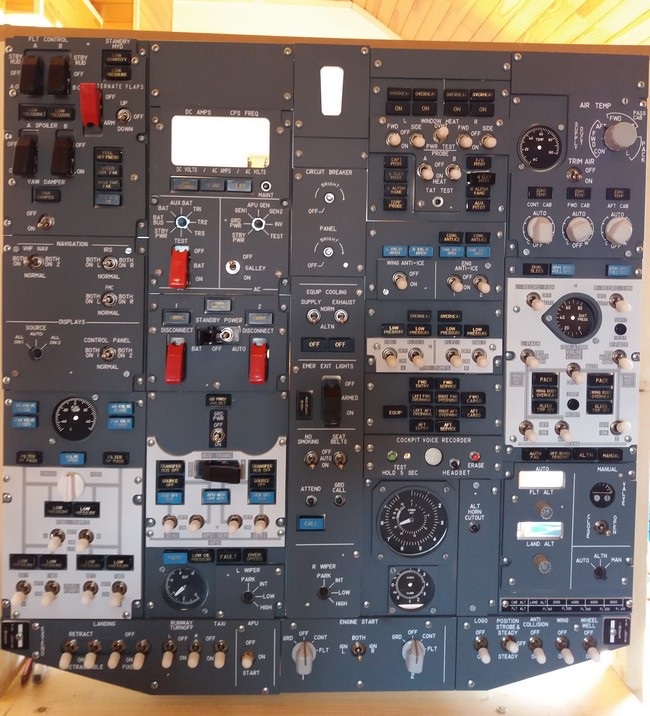
Here are all the panels attached to the aluminum chassis and happy with the result

It looks good for the next
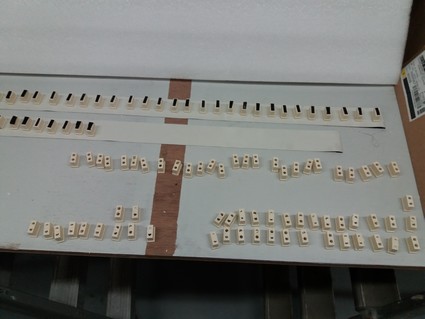
Preparation for painting annunciators boxes
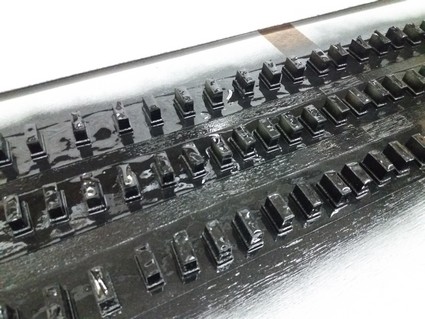
The boxes were placed on adhesive tape and painted
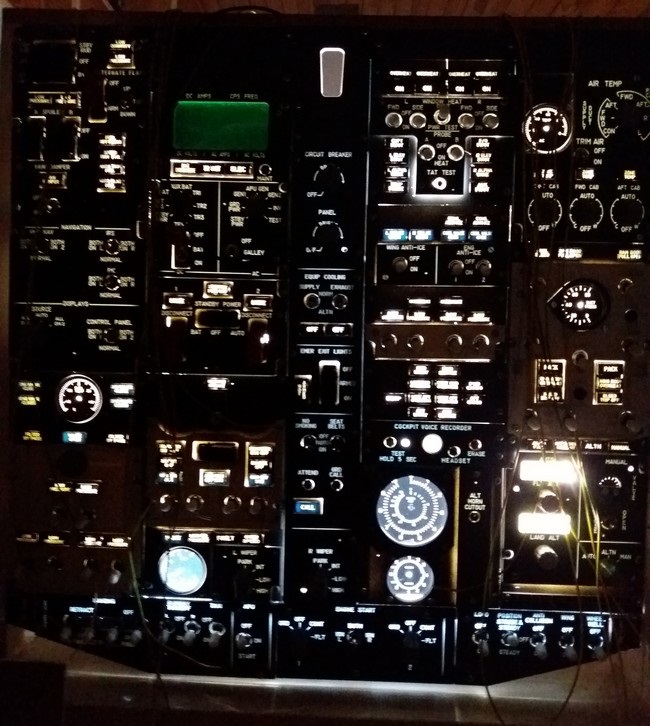
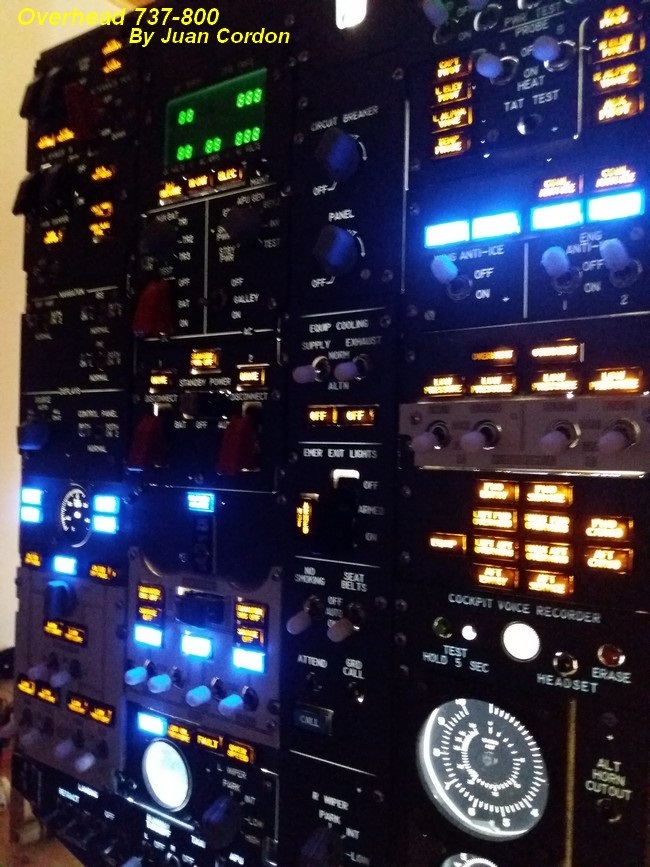
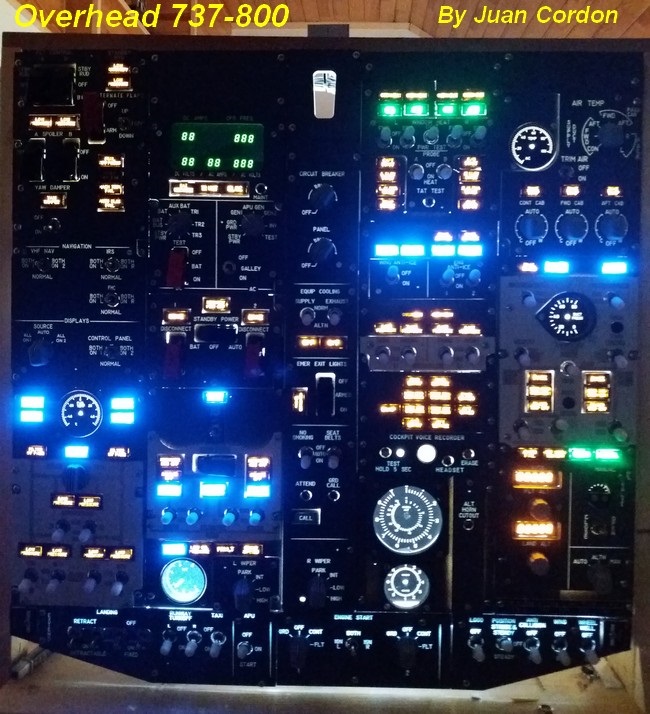
And here are all the elements installed
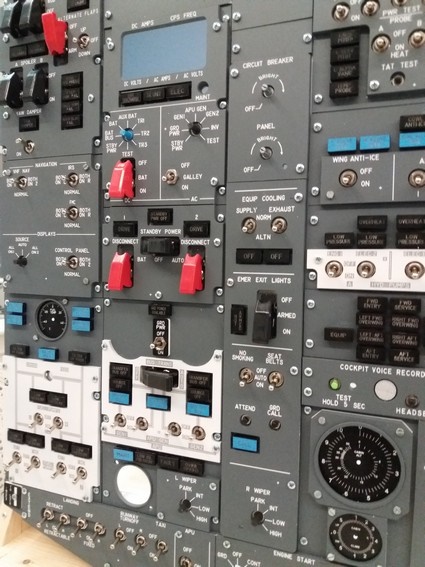
And I am very satisfied with the result
it "only" remain is the wiring.
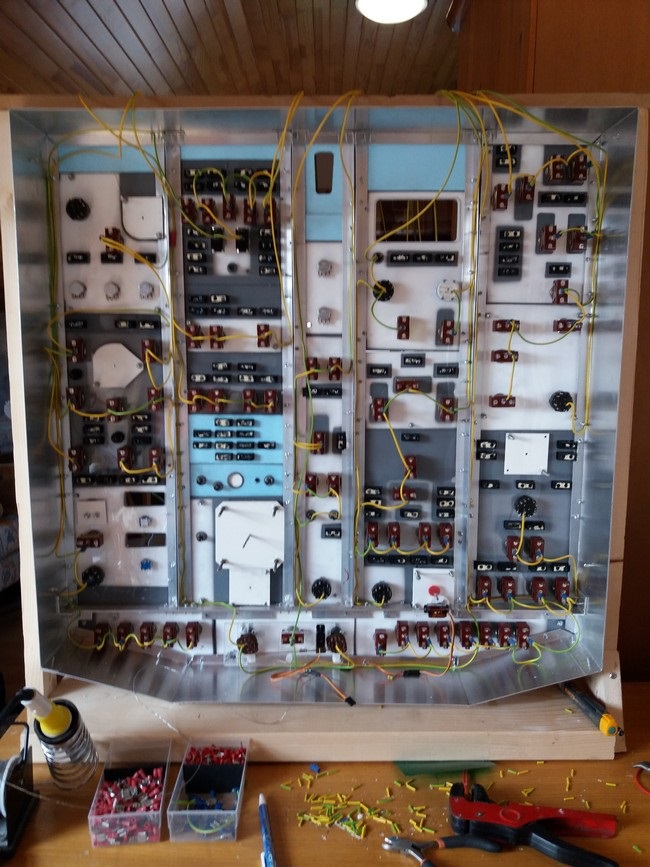
Wiring of the commons 15 in total for groups of 9 Inputs for the IO cards connect of Opencockpits
I placed the white caps on the switches
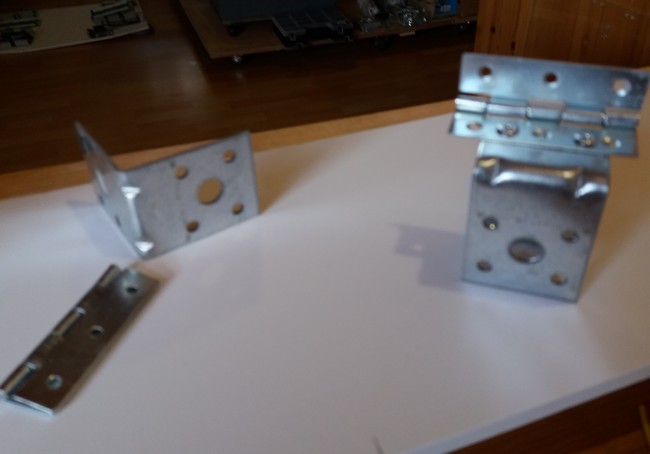
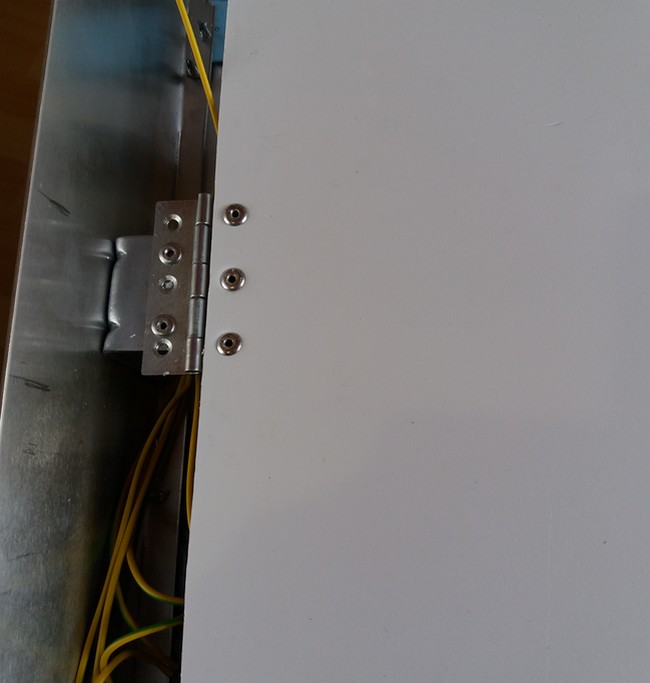
installation of small hinges on a square
Another view of this square
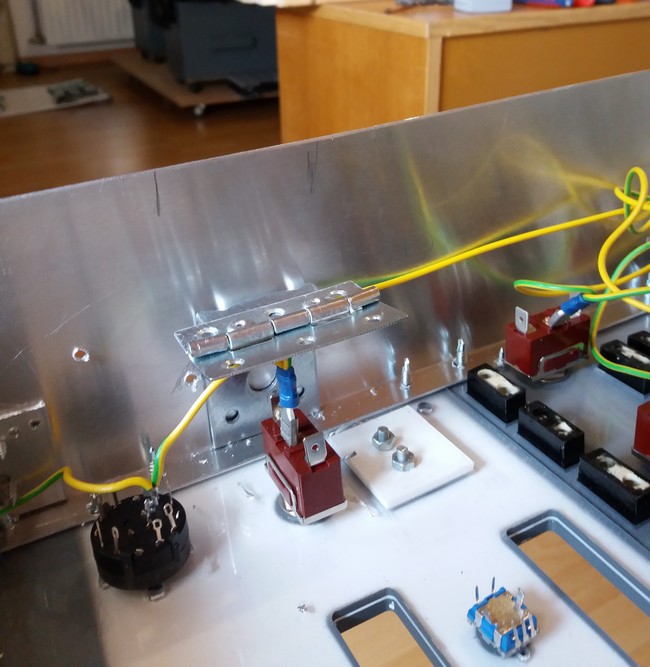
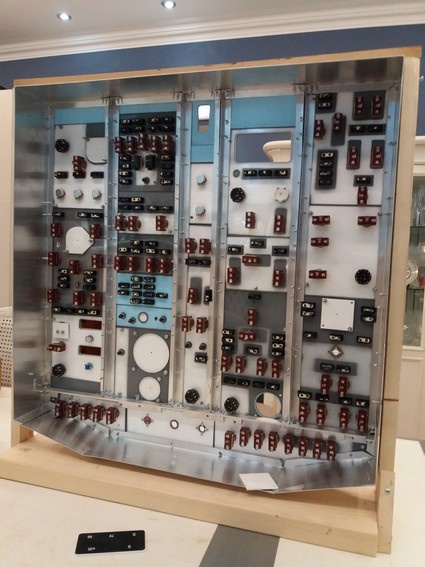
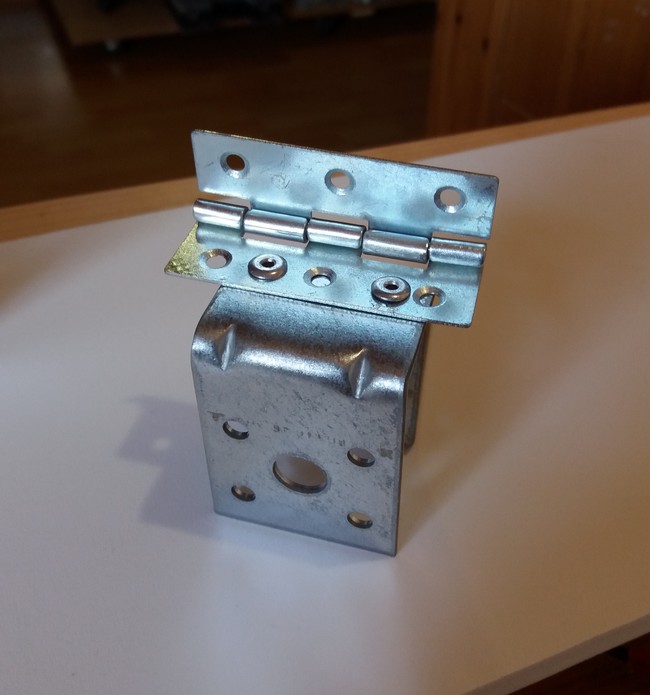
Here it is fixed on the side inside the box
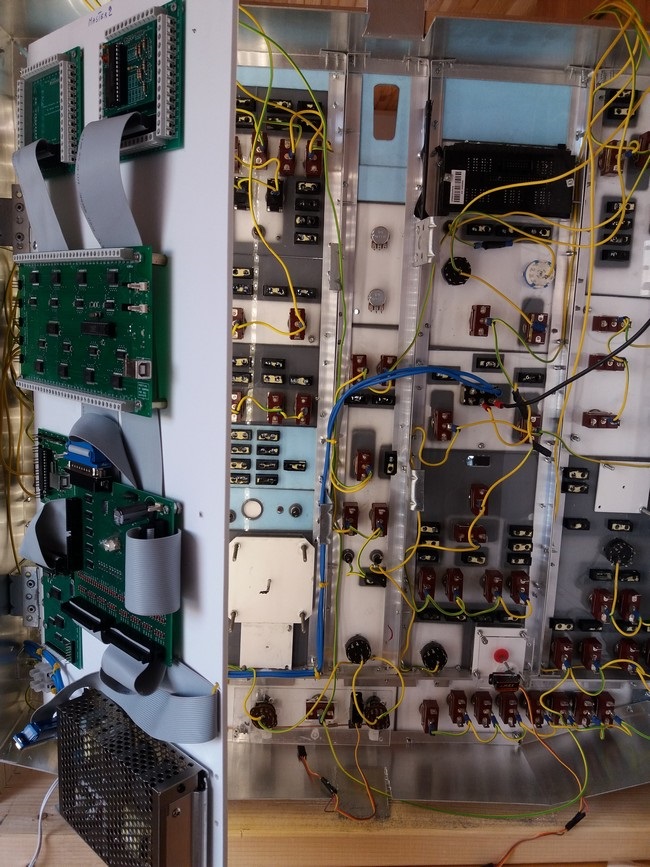
on which is fixed the panels containing the Opencockpits cards

so we can open the panels. This will be practical to continue the wiring.
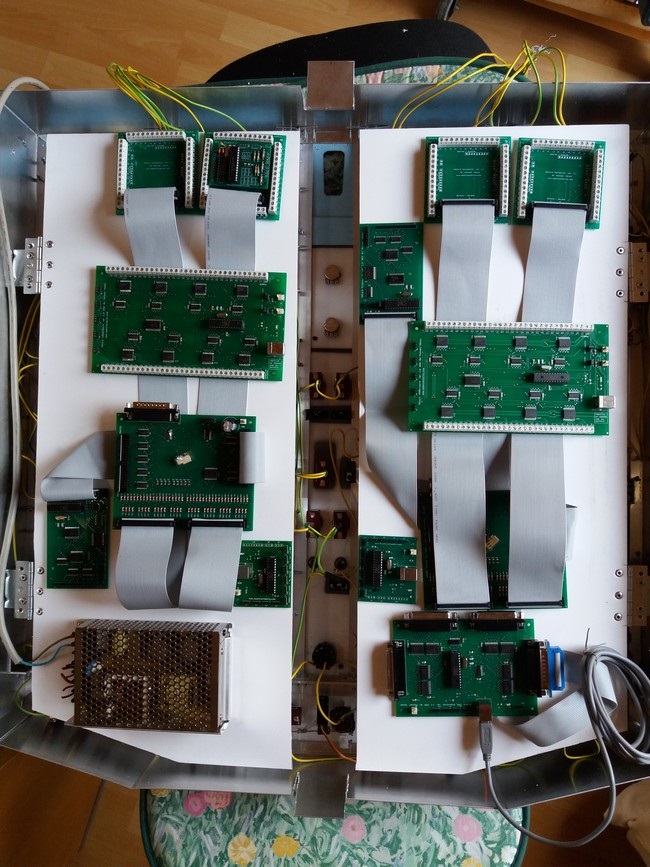
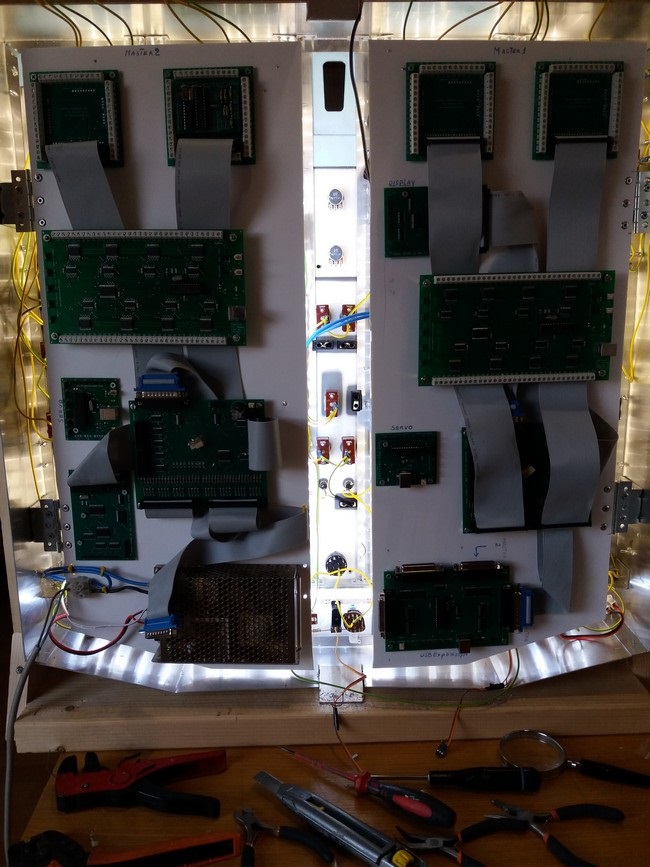
And here is almost the arrangement of the iocards on the opening panels
behind which I will place the strips of LEDs for the backlighting
The cards are now attached to the panels
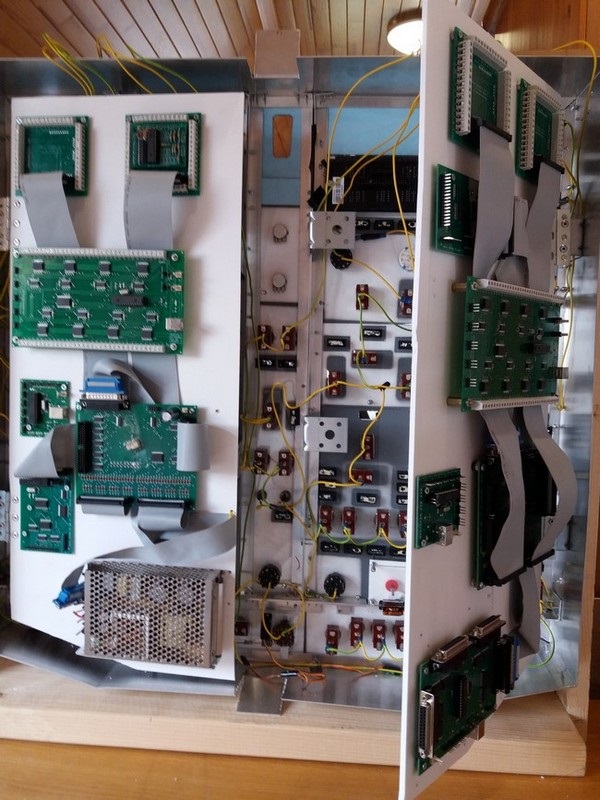
And we can then open the panels
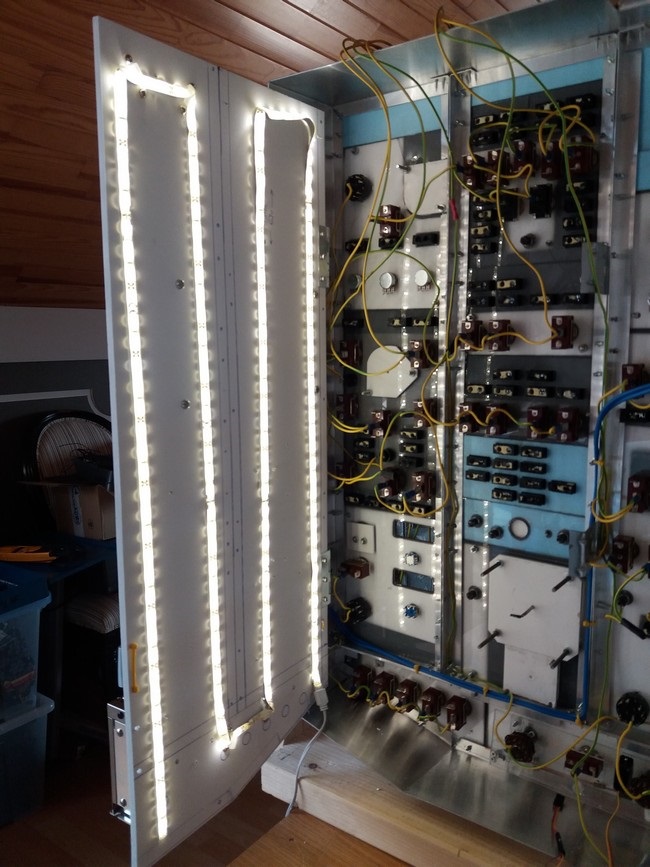
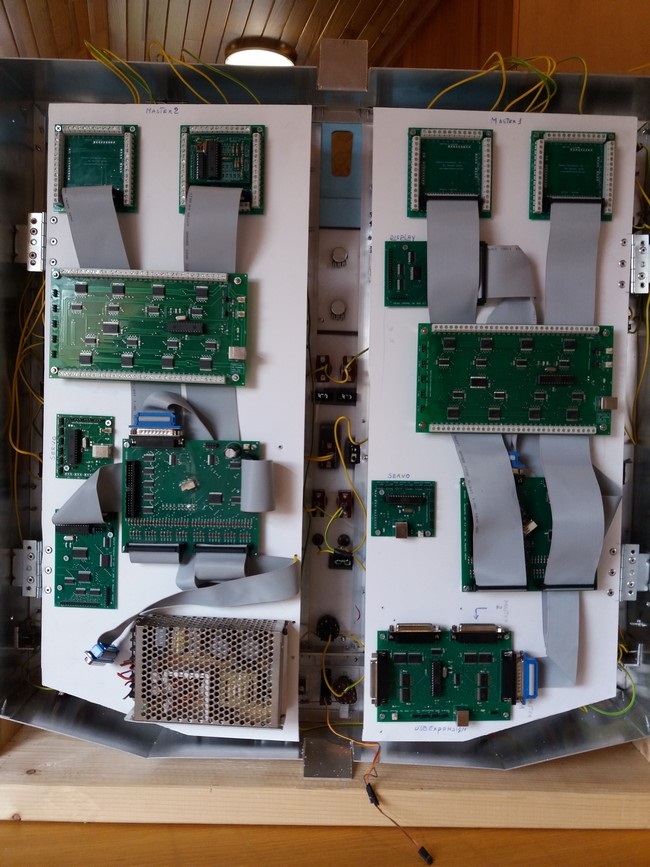
Installation of leds for backlighting
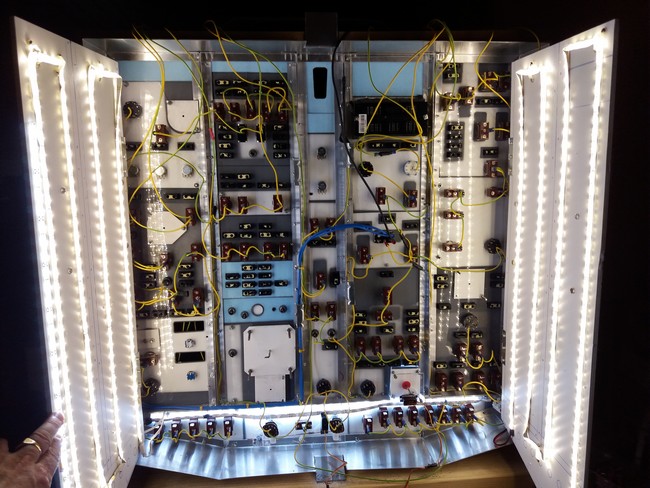
the 2 panels open

opencockpits cards
all switches are wired and all leds outputs
Just do the gauges...
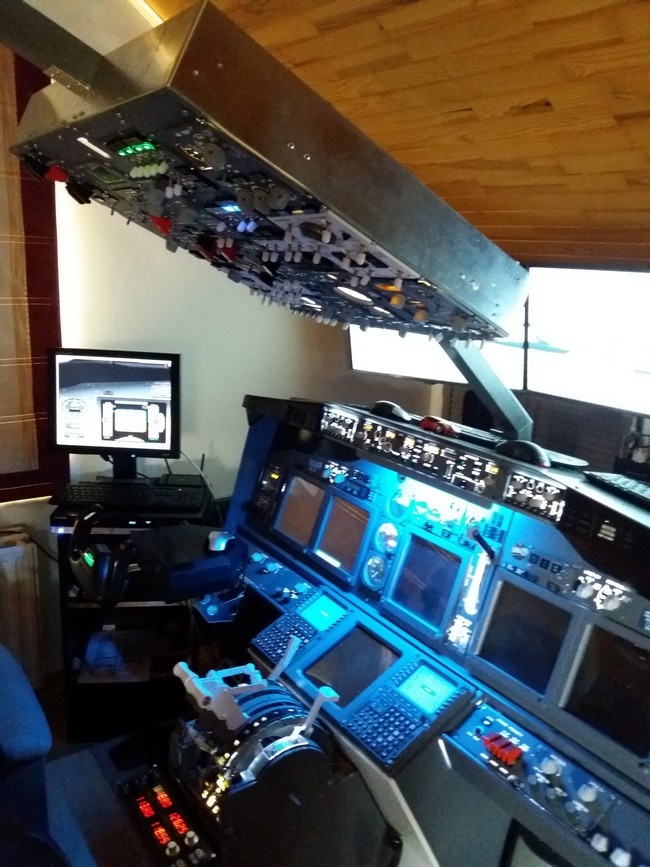
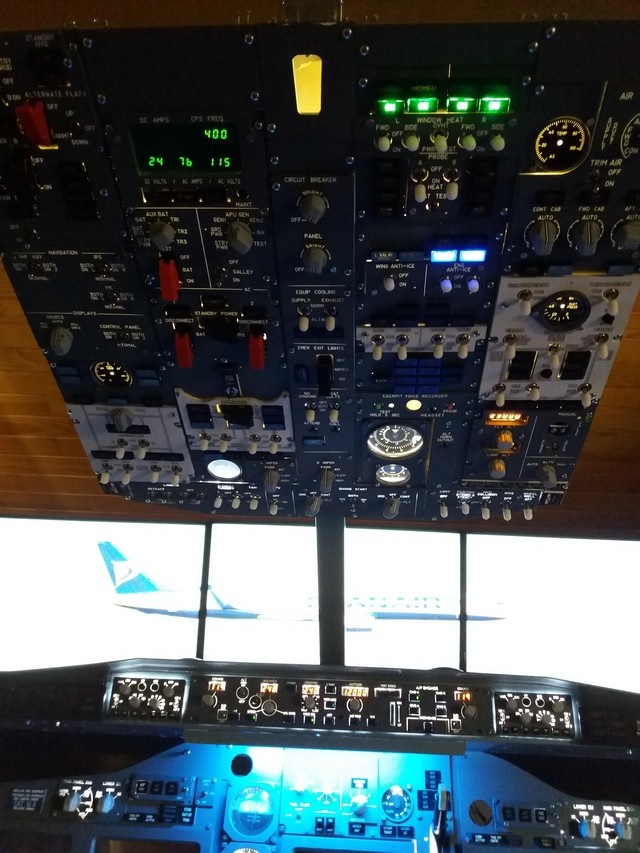
Here is the Overhead fixed in its place
Copyright © 2018 Juan Cordon
![]() Beginning of the page
Beginning of the page